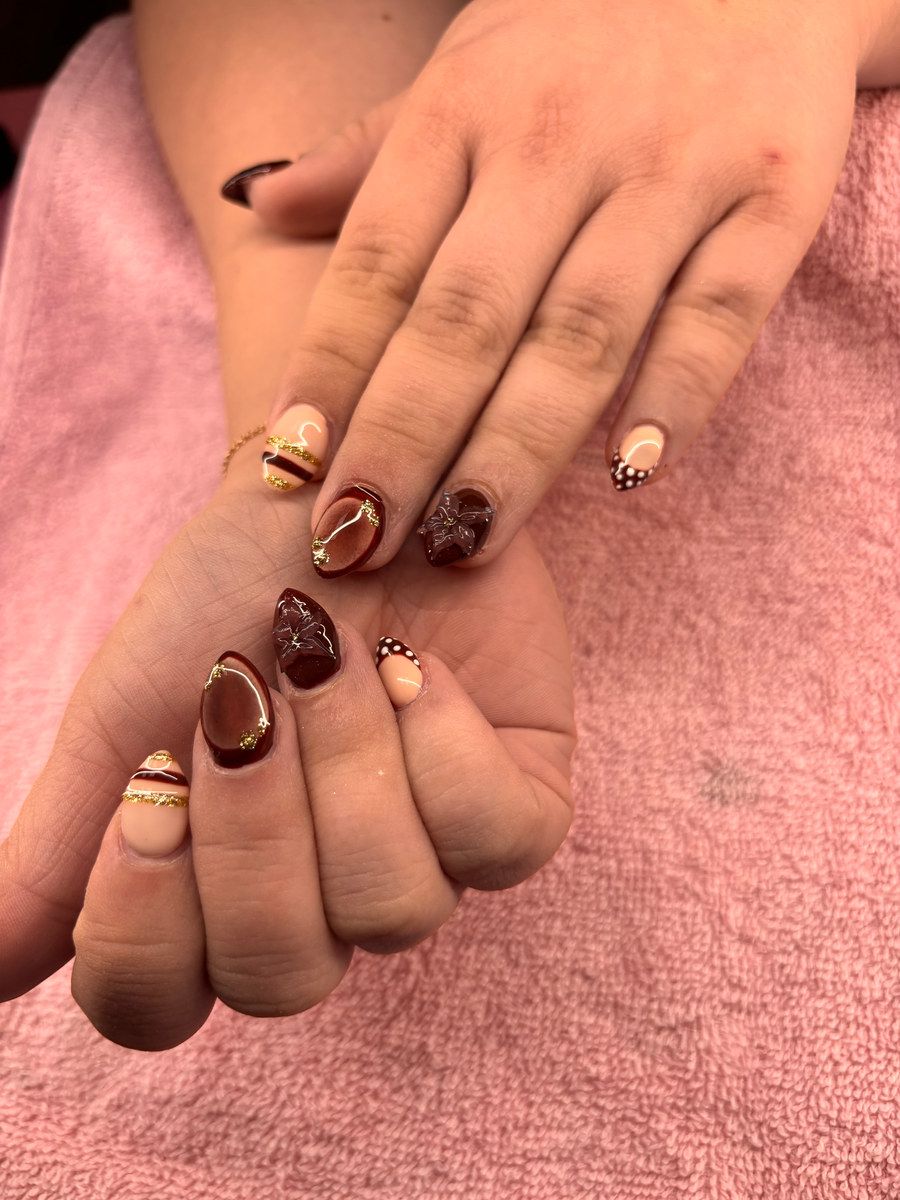
Custom press-on nails are made-to-order nails designed around your shape, length, and style, which you apply yourself at home and can take off when you're done. They give you salon-level art without a long appointment, and with gentle care a good set can often be worn more than once. Here's how they work, how to apply and remove them, and when they make more sense than Gel-X or acrylic.
What custom press-ons are
A press-on is a pre-made nail that you attach over your natural nail with adhesive tabs or nail glue. You've probably seen the drugstore kind: a box of generic sizes and one design.
Custom press-ons are different in a few ways:
- Made to order. The shape, length, color, and art are picked for you.
- Sized for your hands. Fit is planned for your nails instead of guessing from a kit.
- Detailed art. Hand-painted designs, chrome, French tips, and accents can all be done ahead of time.
- Reusable with care. Because they're made to last, many people wear the same set again.
At Beauty, Boldly Done, custom press-on nails are $50 on the current menu and made to order. Request them when you book, and ask how sizing works so your set fits well. Check the services page for the latest pricing.
When press-ons make the most sense
Press-ons aren't a replacement for every set. They shine in specific situations.
| Situation | Why press-ons work |
|---|---|
| A wedding, gala, or holiday party | Full glam for one night, off the next day |
| Travel or vacation | No need to find a salon if a nail pops off; pack backups |
| Trying a new length or shape | Test it before committing to a set |
| Jobs with nail rules | Wear them on the weekend, take them off for work |
| Taking a break from extensions | Give natural nails a rest between events |
| You love art but hate long appointments | The design work happens before you get them |
If you want something you'll wear for weeks without thinking about it, a Gel-X or acrylic set may suit you better. The Gel-X vs acrylic guide compares both. And if you're curious how long a Gel-X set holds up, read how long Gel-X nails last.
What you'll need to apply them
Most custom sets are meant to go on at home. Gather these first:
- Your press-on set, laid out in order
- A nail file and a buffer
- A cuticle pusher or orange stick
- Alcohol wipes or rubbing alcohol on a cotton pad
- Adhesive tabs or nail glue (whatever came with your set or was recommended)
- A clean towel and good light
How to apply press-on nails, step by step
- Start with bare, clean nails. Remove any old polish. Wash and fully dry your hands.
- Push back cuticles. Gently. You want a clean nail plate, not a sore one.
- Shape your natural nails short. File them so they sit under the press-on without poking out.
- Lightly buff the surface. Just enough to remove shine. Don't thin the nail.
- Wipe with alcohol. This removes oils so the adhesive grips. Don't touch the nail after.
- Match each nail to each finger. Line them up before you start so you're not guessing with glue on.
- Apply adhesive. For tabs, peel and press one onto your natural nail. For glue, use a thin, even layer on your nail and a small amount on the press-on.
- Place at an angle. Set the press-on near your cuticle first, then lower it onto the nail. This helps avoid air bubbles.
- Press and hold. Hold firm pressure for a bit, pressing the center and sides.
- Avoid water for a while. Give the adhesive time to set before washing dishes or showering.
Tabs vs glue
- Adhesive tabs are gentler and easier to remove. They're great for a single event or if you plan to reuse the set.
- Nail glue holds longer and is better for travel or busy hands. It takes more care to remove.
How to remove press-ons without damaging your nails
This is the step that protects your natural nails. Go slow.
- Soak your fingertips in warm, soapy water. A few drops of cuticle oil helps.
- Work oil under the edges. Use a cuticle stick to gently push oil under the sides.
- Wiggle, don't rip. The nail should loosen and lift. If it fights you, soak longer.
- For glue, you may need an acetone soak. Note that acetone can affect some finishes and art, so only use it if you don't plan to reuse that set.
- Clean up. Buff off leftover adhesive from your natural nails and apply cuticle oil.
Never pry, bite, or peel press-ons off. It strips layers of your natural nail.
How to reuse your set
Custom press-ons are made to be worn again with a bit of care.
- Clean the back. Gently scrape off old adhesive tabs or buff away dried glue from the underside.
- Wipe them down. A little soap and water, then dry fully.
- Store them flat. Keep each nail in its labeled spot in a case so sizes don't get mixed.
- Keep them out of heat and sun. A hot car isn't a good storage spot.
- Check before each wear. Look for chips or lifted art and handle them before applying.
How many wears you'll get depends on your adhesive, how gently you remove them, and how careful you are with storage.
Event and travel tips
Weddings and big nights
Apply the night before or the morning of. That gives you time to fix any fit issue. Bring a small kit with tabs, a mini file, and an alcohol wipe in case one pops off. If you're coordinating nails with hair for a wedding, the bridal hair trial guide covers timing for the whole look.
Holiday season
Press-ons are a fun way to wear something festive for one party and switch back the next day. Browse holiday nail art ideas for inspiration, or pair a set with your look for New Year's Eve.
Travel
Pack a small kit in your carry-on: extra tabs, glue, a file, and alcohol wipes. Keep one or two spare nails from your set if you have them. Dry your hands well after swimming or long showers.
Quick checklist
- Choose your shape, length, and design before ordering
- Ask about sizing when you book
- Prep nails: clean, short, buffed, dry
- Use tabs for short wear, glue for longer wear
- Remove with a soak, never by prying
- Clean and store your set flat to reuse
Order custom press-ons from Hoshika in Overland Park
I started doing nail art at 15, and designing press-on sets is still one of my favorite things. Bring photos of what you love, even if they're from five different sets, and we'll build a design that fits your style and your event.
My studio is in south Overland Park at 135th Street, inside Willow Salon & Suites. See the services page for the current nail menu, then request your custom press-ons.
Frequently asked questions
How are custom press-ons different from drugstore press-ons?
Store-bought kits come in fixed sizes and designs. Custom press-ons are made to order, so the shape, length, color, and art are chosen for you, and sizing is worked out with your nail tech.
Can I wear custom press-ons for a wedding?
Yes, and they're a popular choice for brides, bridesmaids, and guests who want a polished look for one day without committing to a full set. Apply them the day before or the morning of so you can adjust if needed.
Do press-on nails damage your natural nails?
Press-ons are usually gentle when they're applied to clean nails and removed slowly. Damage comes from ripping them off, which pulls layers from your natural nail.
How do I get the right size?
Sizing is one of the most important parts of a good press-on set. Ask about how sizing works when you book so your set fits side to side.
Book with Hoshika
Want this done for you?
Private one-on-one studio in Overland Park. Free consultations for big changes.