A sleek low bun comes down to smooth, fully dry hair, a clean part, the right amount of product, and a tight-but-not-painful ponytail at the nape before you wrap. Once you have the base down, you can twist, braid, or leave out face-framing pieces for different looks. It works for dinner, holiday parties, work events, and wedding guest hair, and it holds up well in warm, crowded rooms. Here's how to do it.
What you need
- A fine-tooth comb or rat-tail comb for parting
- A boar bristle brush or a smoothing brush
- Gel, smoothing cream, or a sleek stick
- A snag-free elastic (clear or matching your hair)
- Bobby pins and a couple of U-pins
- Hairspray with medium or strong hold
- A clean toothbrush or spoolie for flyaways
- Shine spray (optional)
Prep: start smooth
The smoother your base, the easier the bun.
- Dry your hair completely. Damp hair frizzes as it dries in the bun. If your hair is wavy or frizzy, blow-dry it smooth with a round or paddle brush first. The salon blowout at home guide covers the technique.
- Flat iron if needed. If your hair is very textured, a quick pass with a flat iron on the lengths makes wrapping easier. Use heat protectant and a moderate setting.
- Decide on day-old or fresh. Fresh hair is shinier but slippery. Day-old hair holds better. Either way, a little product helps.
Step-by-step: the classic sleek low bun
Step 1: Make your part
Use a rat-tail comb to create a crisp center part or deep side part. Go all the way back to the crown. A clean part is half the look.
Step 2: Apply product
Rub a small amount of gel or smoothing cream between your palms and smooth it over the top and sides of your head, working back toward the nape. Start with less than you think. You can add more. Too much and the hair looks wet and stringy.
Step 3: Brush back to the nape
Using a boar bristle brush, smooth hair back from the hairline toward the nape. Brush the sides from the temple down and back, behind the ears. Keep your head level. Tilting it back or forward creates bumps.
Step 4: Secure the ponytail
Gather the hair at the nape, right at the center. Hold it firmly with one hand and brush out any bumps with the other. Secure with the elastic.
- For a lower bun, place the ponytail just above the hairline at the nape.
- For a slightly lifted look, place it a bit higher, around the level of your earlobes.
Step 5: Smooth the ponytail
Add a little product to the ponytail and brush or comb it smooth. This keeps the bun itself from looking fuzzy.
Step 6: Wrap the bun
Twist the ponytail into a rope, then coil it around the base of the elastic. Tuck the ends underneath.
- For a small, tight bun, twist firmly and wrap tightly.
- For a fuller bun, twist loosely, or gently tug the coil wider after pinning.
Step 7: Pin
Use U-pins to anchor the coil to the base, sliding them in from the outside of the bun toward the elastic. Add bobby pins where the bun feels loose. Crisscross two bobby pins in an X for extra hold.
Step 8: Finish
- Spray a toothbrush or spoolie with hairspray and smooth down flyaways at the hairline and part.
- Mist hairspray over the whole head.
- Add shine spray from a distance for a glossy finish.
Four easy variations
1. Twisted low bun
Before brushing back, split the front hair into two sections on each side of your part. Twist each section back away from your face, adding hair as you go, until you reach the nape. Combine with the rest of your hair into the ponytail and wrap as usual. It's elegant and hides uneven layers well.
2. Braided low bun
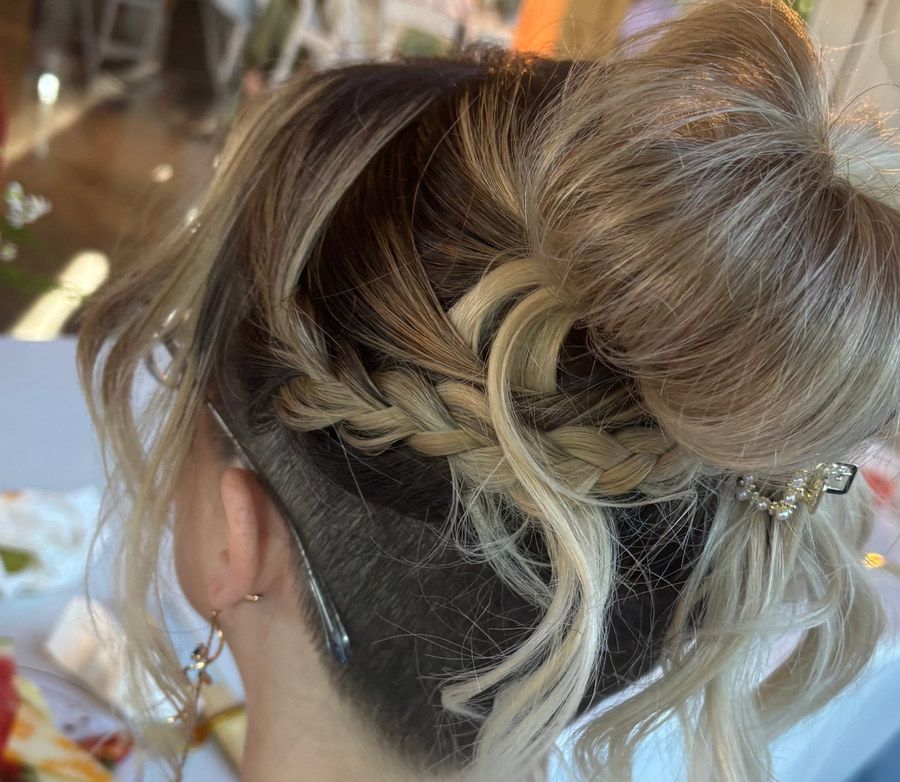
Braid the ponytail before you wrap it, then coil the braid into a bun and pin. Pancake the braid slightly (gently tug the edges) for a fuller, more textured look. Great for thick hair because it compresses the length.
3. Face-framing pieces
Leave out a few thin pieces around your face before you brush everything back. Curl them away from your face with a wand or small iron, or leave them straight for a modern look. This softens the style and works well for photos. See how to curl hair with a wand for the technique.
4. Bun with an accessory
A velvet or satin bow, a pearl clip, a scarf, or a few decorative pins instantly dresses up a sleek bun. Bows and pearls work especially well for holiday parties and winter weddings. For more party looks, see holiday party hairstyles.
Which variation fits your hair?
| Hair type or situation | Try this |
|---|---|
| Fine or thin hair | Loose wrap, gently pull the bun wider, or braid and pancake for volume |
| Thick or very long hair | Braided bun, or split the ponytail in two and wrap both |
| Short layers that pop out | Twisted front sections, more gel, pin layers into the bun |
| Round or soft features | Face-framing pieces or a deep side part |
| Formal event | Classic sleek with a center part and a statement accessory |
| Hot, humid day | Classic sleek with a firm-hold gel to keep frizz down |
Making it last through an event
- Pin well. A bun that feels loose at home won't hold up through dancing.
- Spray, then smooth. Flyaways pop up as the night goes on. A travel-size hairspray and a spoolie in your bag fix them in seconds.
- Don't go too tight. Headaches send buns home early. Firm is good. Painful is not.
- Humidity tip. KC summers are humid, and frizz shows up at the hairline first. A gel or sleek stick with hold works better than cream on muggy days.
Sleek buns for weddings
A sleek low bun is one of the most popular looks for wedding guests and bridal parties because it photographs cleanly, fits nearly any neckline, and lasts all day.
- For wedding guests: classic or twisted with an accessory that matches your outfit.
- For bridesmaids: decide as a group whether everyone wears the same bun or variations that coordinate.
- For brides: a sleek bun pairs well with a veil, which can be anchored above or below the bun.
Planning wedding hair? See the Kansas City wedding hair guide for timing and on-site tips, and the bridal page for how I handle bridal parties.
Book with Hoshika in Overland Park
Want a sleek bun that stays put without the trial and error? I offer a Hairstyle (event styling) for $40 and Updos (prom and bridal) starting at $60 on the current menu; both are request to book. Bring a photo of the look you want, plus your outfit or accessory, and we'll make it work for your hair.
My one-chair studio is in south Overland Park at 135th Street, inside Willow Salon & Suites. See the services menu or book your event style.
Frequently asked questions
How do I get a sleek bun without flyaways?
Start with smooth, fully dry hair, use a small amount of gel or smoothing cream with a boar bristle or fine-tooth brush, and finish by pressing flyaways down with a toothbrush or spoolie and a little hairspray.
Can I do a sleek low bun on layered or short hair?
Yes, if your hair reaches the nape. Shorter layers may pop out, so use gel to smooth them and pin them into the bun, or leave a few face-framing pieces out on purpose.
Will a sleek bun damage my hair?
Not if you avoid pulling too tight and use a snag-free elastic. Constant tight tension in the same spot can stress the hairline, so switch up your styles.
Should I do a sleek bun on clean or day-old hair?
Either works. Clean hair is shinier but slippery, so add a little product for grip. Day-old hair holds well but may need dry shampoo at the root.
Book with Hoshika
Want this done for you?
Private one-on-one studio in Overland Park. Free consultations for big changes.