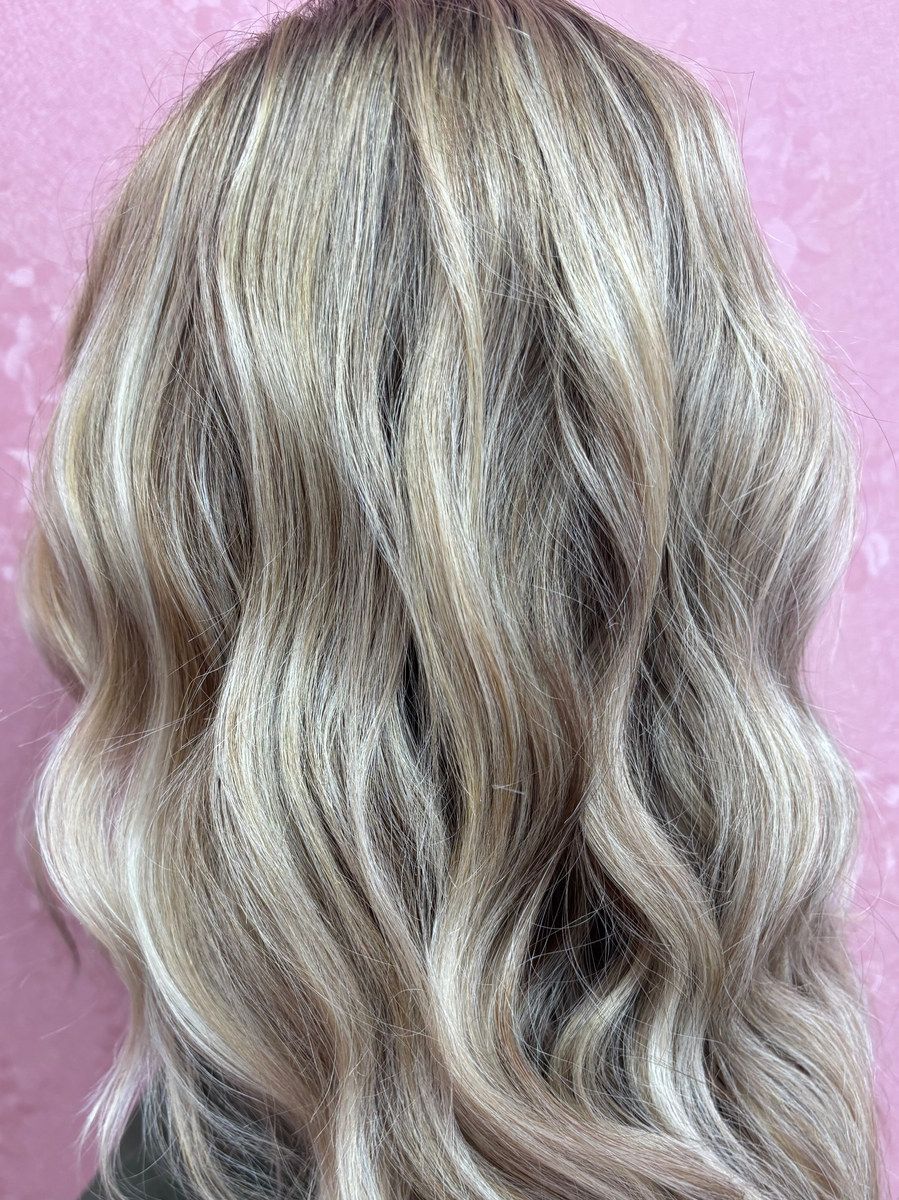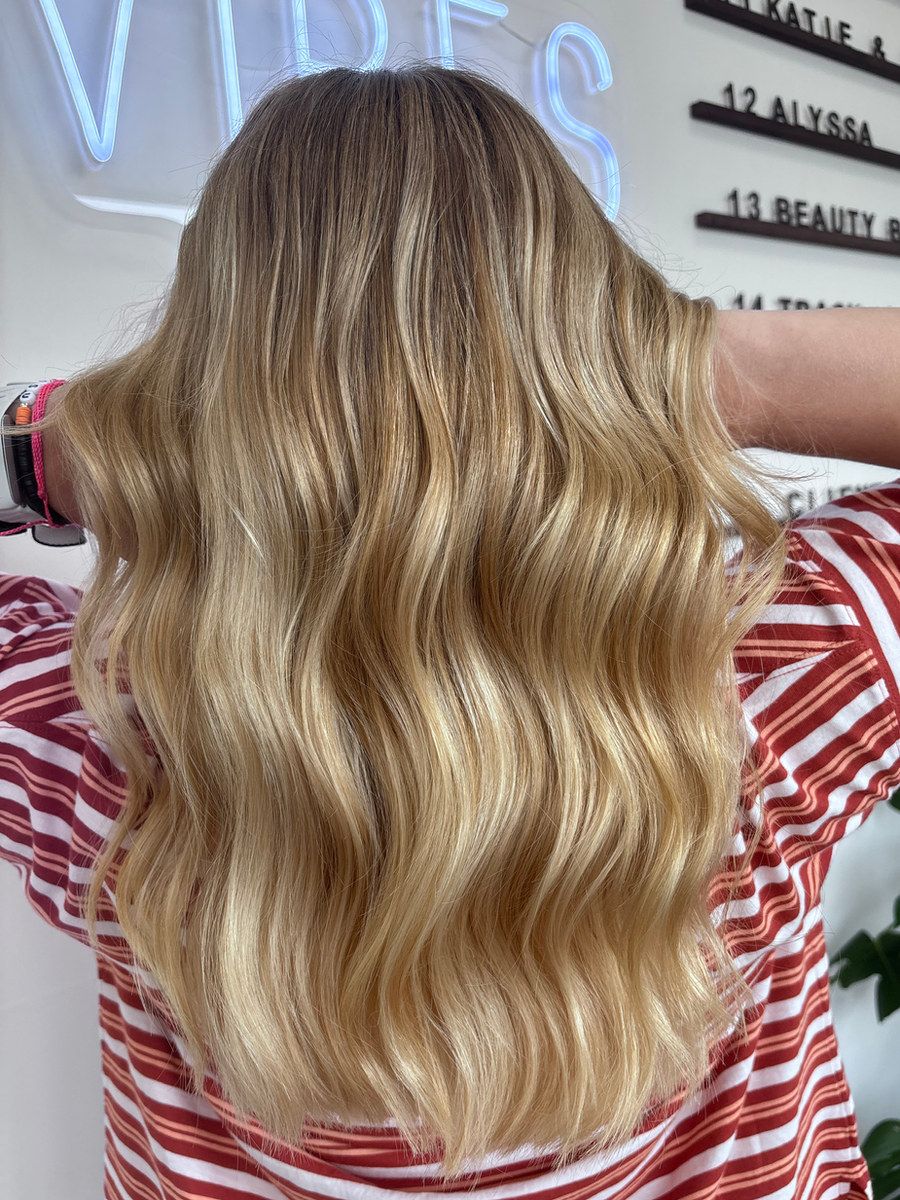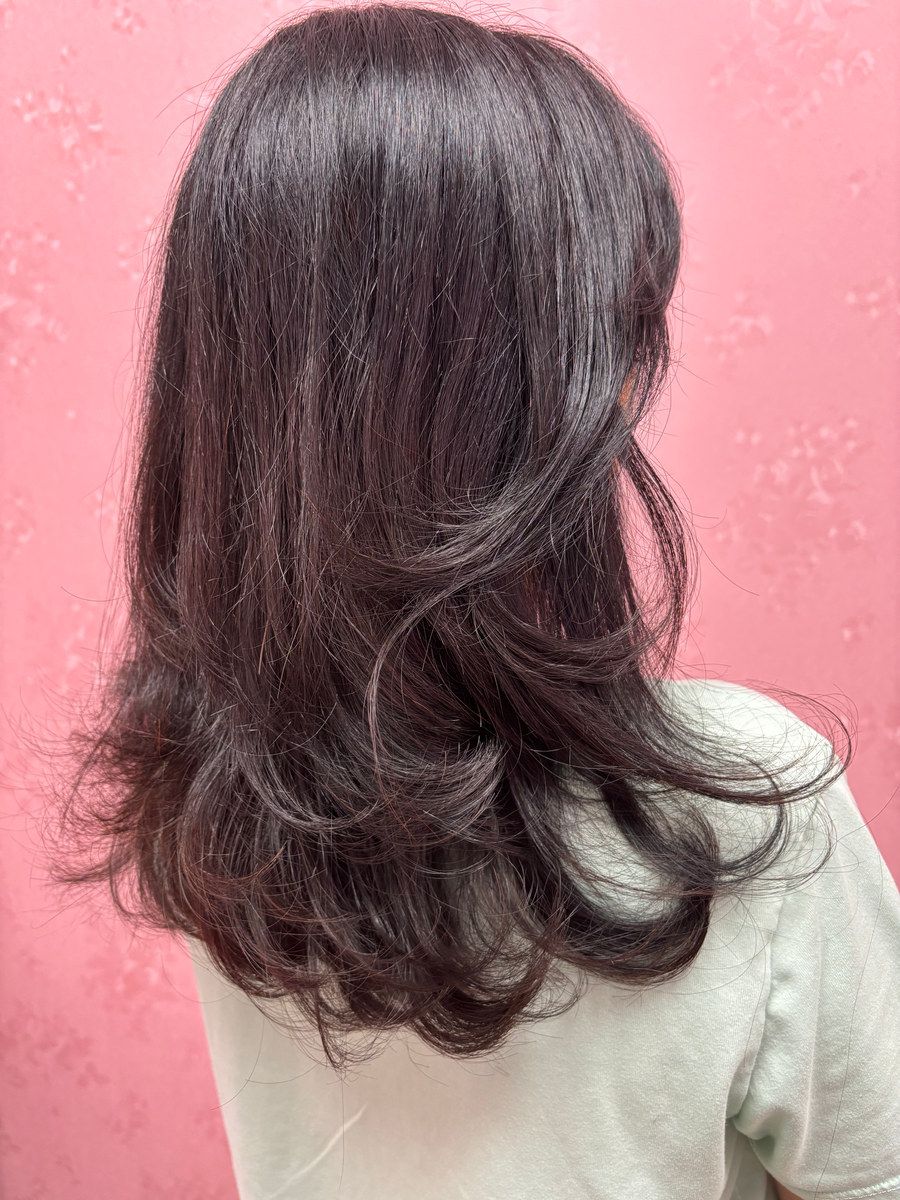
To curl hair with a wand, start with completely dry hair and heat protectant, pick a barrel size that fits your length, wrap small sections flat around the barrel away from your face, hold briefly, and let each curl cool before you touch it. Alternating the direction of your curls is the trick that makes wand curls look natural instead of uniform. Below is the full step-by-step, plus how to adjust for fine or thick hair.
Wand vs. curling iron: what's different
A curling wand has no clamp. You wrap the hair around the barrel yourself and hold the ends with your fingertips (wearing the heat glove that usually comes in the box). That changes a few things:
- No crease on the ends. Without a clamp, the ends curl smoothly.
- Looser, more relaxed curls. Wands tend to give a softer, beachy shape.
- A short learning curve. The wrap feels awkward the first few times, then it gets fast.
If you prefer a bend over a full curl, a flat iron can do that too. See how to get flat iron waves.
Choose your barrel size by hair length
Barrel size controls curl size. The same wand gives a tighter look on short hair and a looser look on long hair, because long hair wraps around the barrel more times.
| Hair length | Barrel size to try | What you get |
|---|---|---|
| Chin to shoulder | Small (around 1 inch or under) | Defined curls that still show on shorter lengths |
| Shoulder to collarbone | Medium (around 1 to 1.25 inch) | Classic loose curls |
| Past the shoulders to mid-back | Medium-large (around 1.25 to 1.5 inch) | Soft, bouncy waves |
| Very long or heavy | Large, or a tapered barrel | Body and movement without frizzy coils |
These are starting points, not rules. If your curls drop fast, go one size smaller. If they look too tight, go up a size or brush them out more at the end.
Tapered vs. straight barrel: a tapered (cone) wand is thicker at the base and thinner at the tip, so you get a bigger curl at the top and tighter at the ends. A straight barrel gives a more even curl from top to bottom.
Before you start
- Start with fully dry hair. Curling damp hair causes steam, frizz, and damage, and the curl won't hold.
- Apply heat protectant. Mist it through mid-lengths and ends and let it dry for a moment. Here's how to use heat protectant the right way.
- Add grip if your hair is slippery. A light texture spray or volumizing mousse (applied before drying) gives curls something to hold onto.
- Set your heat. Use the lowest setting that still curls your hair. Fine, lightened, or fragile hair needs less heat than thick, coarse hair.
- Gather your clips. Four to six sectioning clips make this much easier.
A smooth base helps. If your hair dries frizzy, a quick rough dry with a nozzle pointed down the hair shaft sets you up well. The at-home blowout guide covers that part.
Step-by-step: curling with a wand
Step 1: Section
Clip up everything except the bottom layer at the nape. You'll work bottom to top, finishing with the pieces around your face so they look freshest.
Step 2: Take a small section
Take a section about one to two inches wide. Thinner sections give tighter, longer-lasting curls. Thicker sections give looser waves but drop faster.
Step 3: Wrap flat
Hold the wand pointing down, base at the top. Start wrapping the section around the barrel a short distance from your root. Keep the hair flat like a ribbon, not twisted like a rope. Flat wraps give smooth, shiny curls. Twisted wraps give a piece-y, textured look, which is fine if that's what you want.
Step 4: Leave the ends out (optional)
For a modern, lived-in look, stop wrapping before the last inch or two and leave the ends straight. For a polished, classic look, wrap all the way to the tip and hold the ends with your gloved fingers.
Step 5: Hold, then slide off
Hold for a few seconds. Fine hair needs less time. Coarse hair needs a little more. Then tip the wand down and let the curl slide off.
Step 6: Let it cool
This is the most skipped step. Either leave the curl alone to cool, or catch it in your palm and pin it up in a coil with a clip while you keep working. A curl sets as it cools, not while it's hot.
Step 7: Alternate direction
On each side, switch the wrap direction from one section to the next: one away from your face, the next toward it. This keeps curls from clumping into one big sausage curl and is what makes wand curls look effortless. For the front sections, curl away from your face to open up your features.
Step 8: Finish
Once every curl is fully cool:
- Rake through with your fingers for soft waves, or brush lightly with a wide brush for old-Hollywood volume.
- Mist a flexible hairspray from a distance.
- Add a tiny bit of shine product to the ends if they look dry.
Tips for fine vs. thick hair
Fine hair
Fine hair heats up fast and lets go of curls fast.
- Use lower heat and shorter hold times.
- Build grip first. Mousse at the root before drying and texture spray before curling help a lot.
- Use smaller sections and consider going down a barrel size.
- Pin curls to cool. It makes a real difference in how long they last.
- Go light on oils and creams. They weigh fine hair down and flatten curls.
For more ideas, see volume tips for fine hair.
Thick or coarse hair
Thick hair holds curls well but takes longer.
- Section carefully. Thick sections stay straight in the middle.
- Hold a little longer rather than cranking the heat.
- Use more clips and work in more rows.
- Smooth first. A smoothing cream before blow-drying helps curls look polished instead of frizzy.
Lightened or color-treated hair
Lightened hair is more porous and more fragile. Keep the heat moderate, never skip protectant, and don't pass over the same section again and again. Heat also speeds up fading and brassiness, so a cooler setting protects your color too.
Common wand mistakes
- Curling damp hair. If you hear sizzling, stop.
- Sections too big. The middle of the section won't curl.
- Wrapping to the root. You risk burns and get a bumpy root. Start a little lower.
- All curls in the same direction. Looks dated and clumps together.
- Brushing out too soon. Warm curls fall.
- Heat cranked to max. More heat isn't more hold. It's more damage.
Making curls last in Kansas City weather
KC's humid summers can loosen curls fast, especially on porous hair. A few things help:
- Use an anti-humidity spray as your finishing step.
- Curl slightly tighter than you want. Curls relax over the day.
- On the muggiest days, wear curls half-up to keep them off your neck.
In winter, the problem is static and dryness from indoor heat. A light leave-in on the ends and a little hairspray on your brush helps tame flyaways.
If you're curling for an event, these holiday party hairstyles show ways to dress up a wand curl.
Book with Hoshika in Overland Park
Want curls that last through a full event? I offer a Hairstyle (event styling) for $40 on the current menu (request to book), and I'm happy to walk you through barrel size and technique while I work so you can repeat it at home. I use Amika and Redken products and can point you toward what fits your hair type.
My one-chair studio is in south Overland Park at 135th Street, inside Willow Salon & Suites. Check the full services menu or book your appointment.
Frequently asked questions
Do I curl toward or away from my face with a wand?
Away from the face is the classic choice for the front pieces because it opens up your features. For the rest of your head, alternating directions gives a more natural, lived-in result.
Why do my wand curls fall out so fast?
The most common reasons are curling damp hair, taking sections that are too thick, or brushing curls out while they are still warm. Let each curl cool fully before you touch it.
Is a wand or a curling iron better for beginners?
A curling iron's clamp is easier to control at first, but many people find a wand faster once they get the wrap down. A wand also avoids the crease a clamp can leave on the ends.
Can I use a curling wand on extensions?
Usually yes on the extension hair itself, with heat protectant and a moderate setting. Keep the hot barrel away from bonds and tapes, and ask your stylist what heat your extension hair can handle.
Book with Hoshika
Want this done for you?
Private one-on-one studio in Overland Park. Free consultations for big changes.