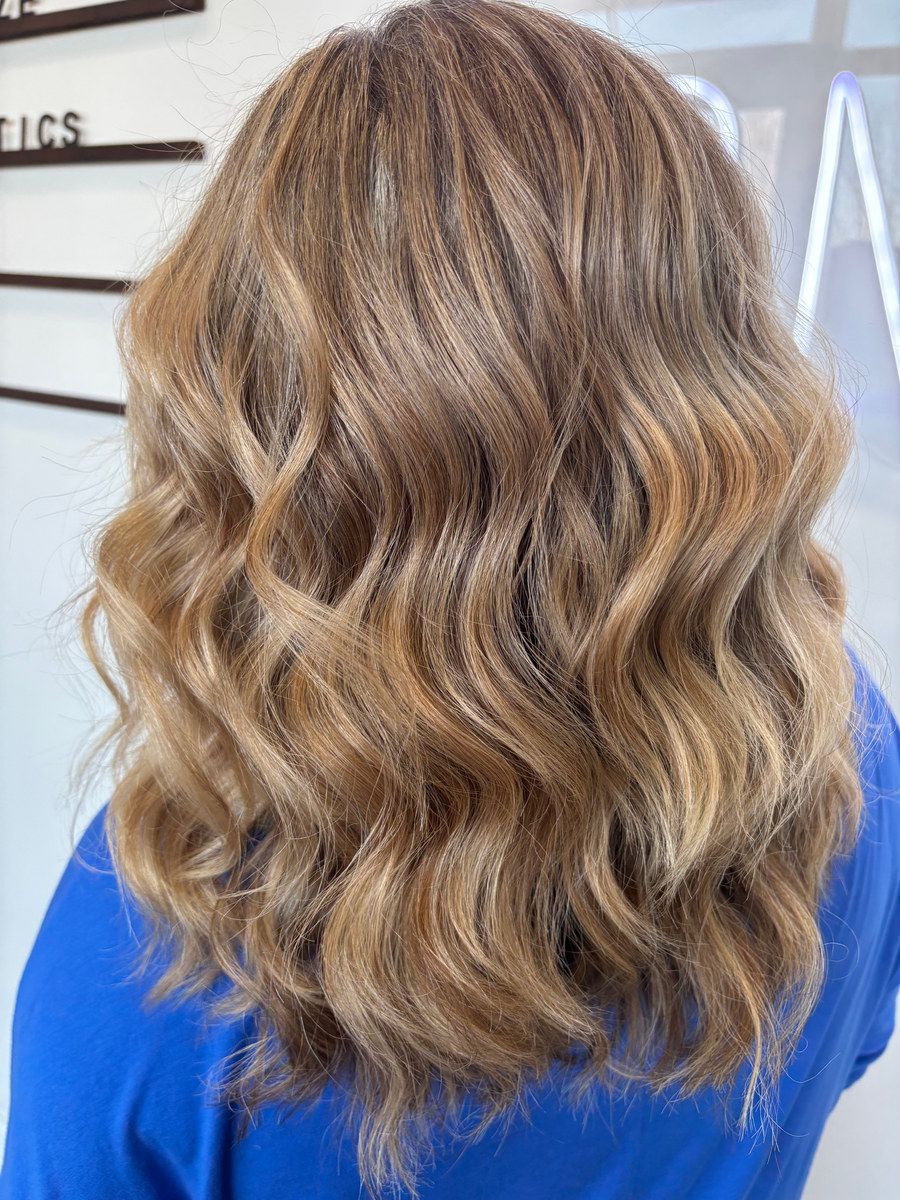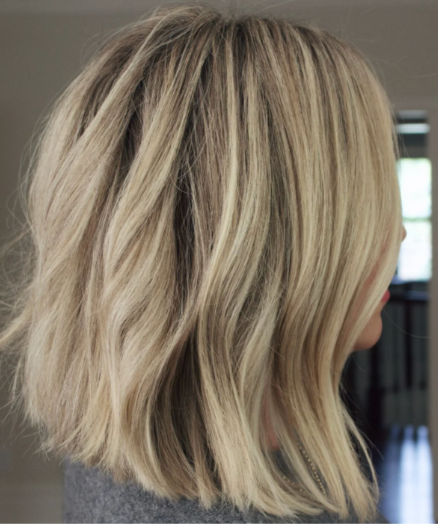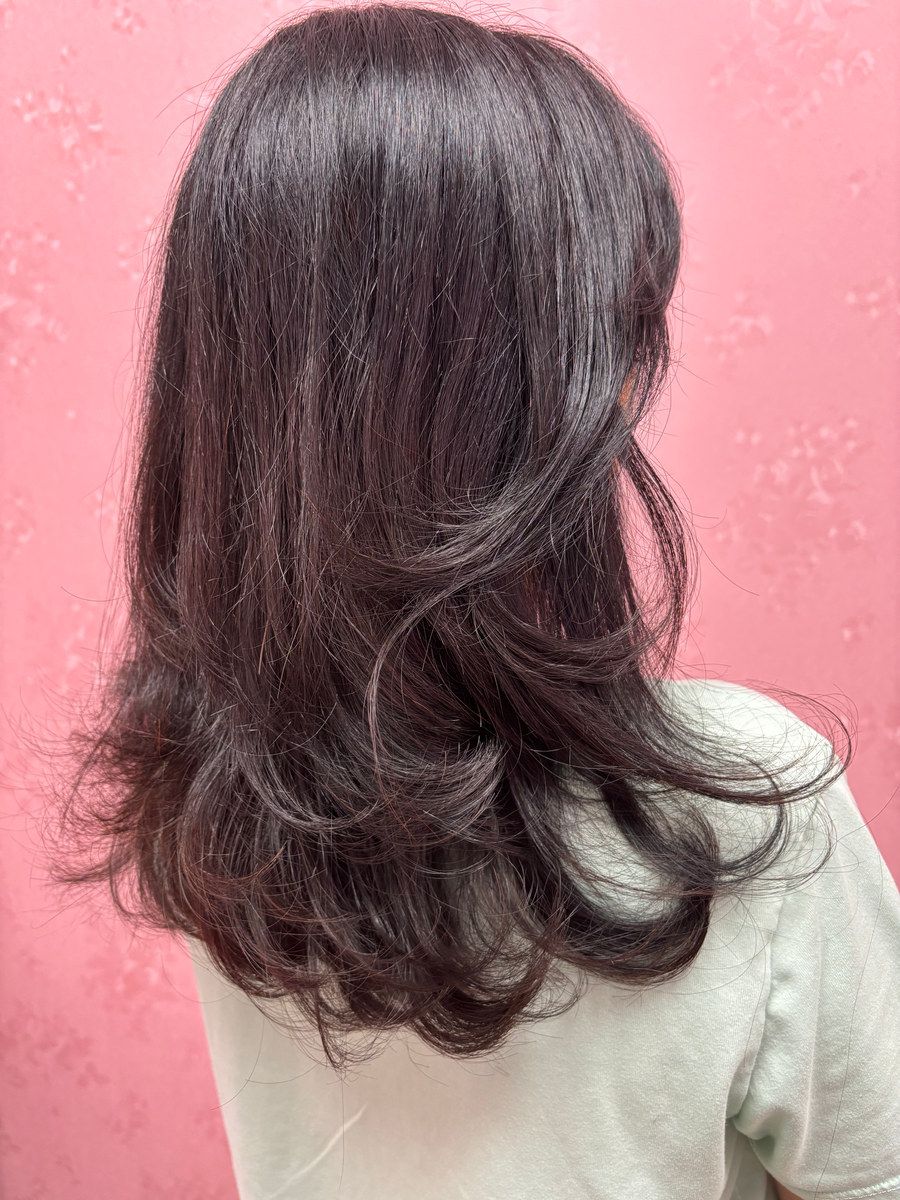
Flat iron waves, also called bend waves or lived-in waves, are soft, piecey bends made by twisting the flat iron as you glide it down a section of hair. The trick is to keep moving, use a half twist rather than a full curl, and leave the last inch or two of the ends straight. That gives you the modern undone wave instead of a tight ringlet. Here is how to do it step by step.
What flat iron waves look like (and who they suit)
This wave sits between straight and curled. Think loose S-bends that start around the cheekbone and fade out before the ends.
It works well for:
- Medium to long hair. Shoulder length and longer gives you room for a full bend.
- Lob and long bob cuts. One or two bends per section look polished and current.
- Balayage and dimensional color. Waves show off the lighter and darker pieces, which is why most color photos are styled this way.
- People who want volume without big curls.
Very short hair and hair with lots of short layers can be trickier. Wavy and curly hair can use the technique too, usually after a smooth blowout.
What you need
- A flat iron with rounded edges. Beveled plates glide and twist without creasing. A slim iron is easiest to control.
- Heat protectant. Non-negotiable.
- Sectioning clips.
- Texture spray or sea salt spray for grip and a piecey finish.
- A light flexible hairspray for hold.
Heat settings: lower than you think
Use the lowest setting that actually bends your hair in one pass. Exact numbers vary by tool, so start low and turn it up only if needed.
| Hair type | Starting point |
|---|---|
| Fine or thin hair | Low setting |
| Lightened, blonde, or color-treated hair | Low to medium; lightened hair is more fragile |
| Medium, healthy hair | Medium |
| Thick or coarse hair | Medium to higher, but try medium first |
| Extensions | Follow your extension care guidance; avoid heat near bonds or tapes |
Signs your iron is too hot: steam that smells like burning, a sizzle, or hair that looks dull or crunchy afterward. If your hair is wet in any spot, stop and dry it first. Never flat iron damp hair.
If you wear extensions, read how to care for hair extensions before styling. Keeping the hot plates away from the attachment point matters.
Step-by-step: flat iron waves
Step 1: Start with dry, prepped hair
Hair must be completely dry. Second-day hair holds best. If it is freshly washed, do a quick blowout first. Here is a guide to a salon blowout at home.
Mist heat protectant through the lengths and let it dry for a moment.
Step 2: Section
Split your hair into two layers: bottom (ear level down) and top. Clip the top section up. Work in vertical sections about one to two inches wide. Bigger sections give looser waves. Smaller give tighter.
Step 3: Clamp and twist
- Clamp the iron a few inches below the root, plates horizontal.
- Turn the iron a half turn away from your face.
- Slide the iron slowly down the section while keeping the half turn.
- As you glide, rotate back and forth in a gentle "C" motion if you want more definition.
- Stop and release before the last inch or two of the ends.
Keep the iron moving. If you pause, you get a dent instead of a bend.
Step 4: Alternate direction
For a natural, lived-in look, alternate sections: one away from your face, the next toward your face. Always turn the pieces around your face away from it so they open up your features.
Step 5: Leave the ends out
This is the detail that makes the wave look modern. Straight ends read as relaxed and current. Curled-under ends look more formal and dated.
If an end got caught, smooth it with a quick straight pass.
Step 6: Let it cool, then break it up
Let the whole head cool for a few minutes. Then:
- Flip your head and shake gently at the roots.
- Spray texture spray from a distance and scrunch.
- Run your fingers through the bends to break them up.
- Finish with a light mist of flexible hairspray.
Avoid brushing, which turns waves into frizz.
Troubleshooting
| Problem | Likely cause | Fix |
|---|---|---|
| Tight ringlets | Full twist, slow glide, small sections | Half twist, faster glide, bigger sections |
| Kinks or dents | Pausing or clamping too hard | Keep moving, relax your grip |
| No hold | Iron too cool, or clean, slippery hair | Use texture spray first, or try a slightly higher setting |
| Waves fall by afternoon | Didn't cool before touching, humidity | Let cool fully, use anti-humidity spray |
| Frizz | Damp spots, too much heat, brushing | Dry completely, lower heat, break up with fingers only |
Making flat iron waves last in Kansas City humidity
KC summers are hot and humid. Humidity loosens bends fast, especially on porous or lightened hair that grabs moisture from the air.
- Prep with a light mousse or texture spray so the wave has grip.
- Let every section cool completely before you touch it.
- Finish with an anti-humidity spray, not a heavy oil.
- Go a little tighter than you want. Waves relax through the day. Starting slightly tighter lands you where you want by afternoon.
- Skip the wave on the muggiest days. A sleek pony or braid may hold better.
Winter brings the opposite: static and flyaways from dry heat. A small amount of leave-in on the ends before styling helps. See how Kansas City seasons change your hair routine.
If your waves never seem to take, the cause may be your hair's porosity or density, not your technique. This explainer on why your hair is hard to manage breaks it down.
Protecting color while you heat style
Frequent heat can fade color and pull blonde warm over time. Keep a toner or gloss on your calendar, use heat protectant every time, and turn your iron down. For more ways to keep lightened hair fresh, read how to keep blonde bright.
Try it in the chair first
Bend waves are a natural finish for balayage and dimensional color. If you want to learn the twist, ask me to slow down and walk you through it during your styling so you can copy it at home. If you have a big event and want it done for you, an event hairstyle is $40 on the current menu.
My studio is in south Overland Park at 135th Street, inside Willow Salon & Suites. Browse the services page for the full menu, then book your appointment.
Frequently asked questions
What size flat iron is best for waves?
A slim iron, often around one inch wide, is the easiest to twist and control. Wider plates work on very long or thick hair but are harder to maneuver.
Should I do flat iron waves on clean or dirty hair?
Second-day hair usually holds a wave better than freshly washed hair. If your hair is clean and silky, a texture spray before styling gives the bend something to grip.
Why do my flat iron waves look like ringlets?
You are probably moving too slowly, twisting a full turn, or using sections that are too small. Use bigger sections, a half twist, and a steady glide.
Are flat iron waves bad for lightened hair?
Any heat adds wear, but you can lower the risk with heat protectant, the lowest setting that works, and one pass per section instead of several.
Book with Hoshika
Want this done for you?
Private one-on-one studio in Overland Park. Free consultations for big changes.